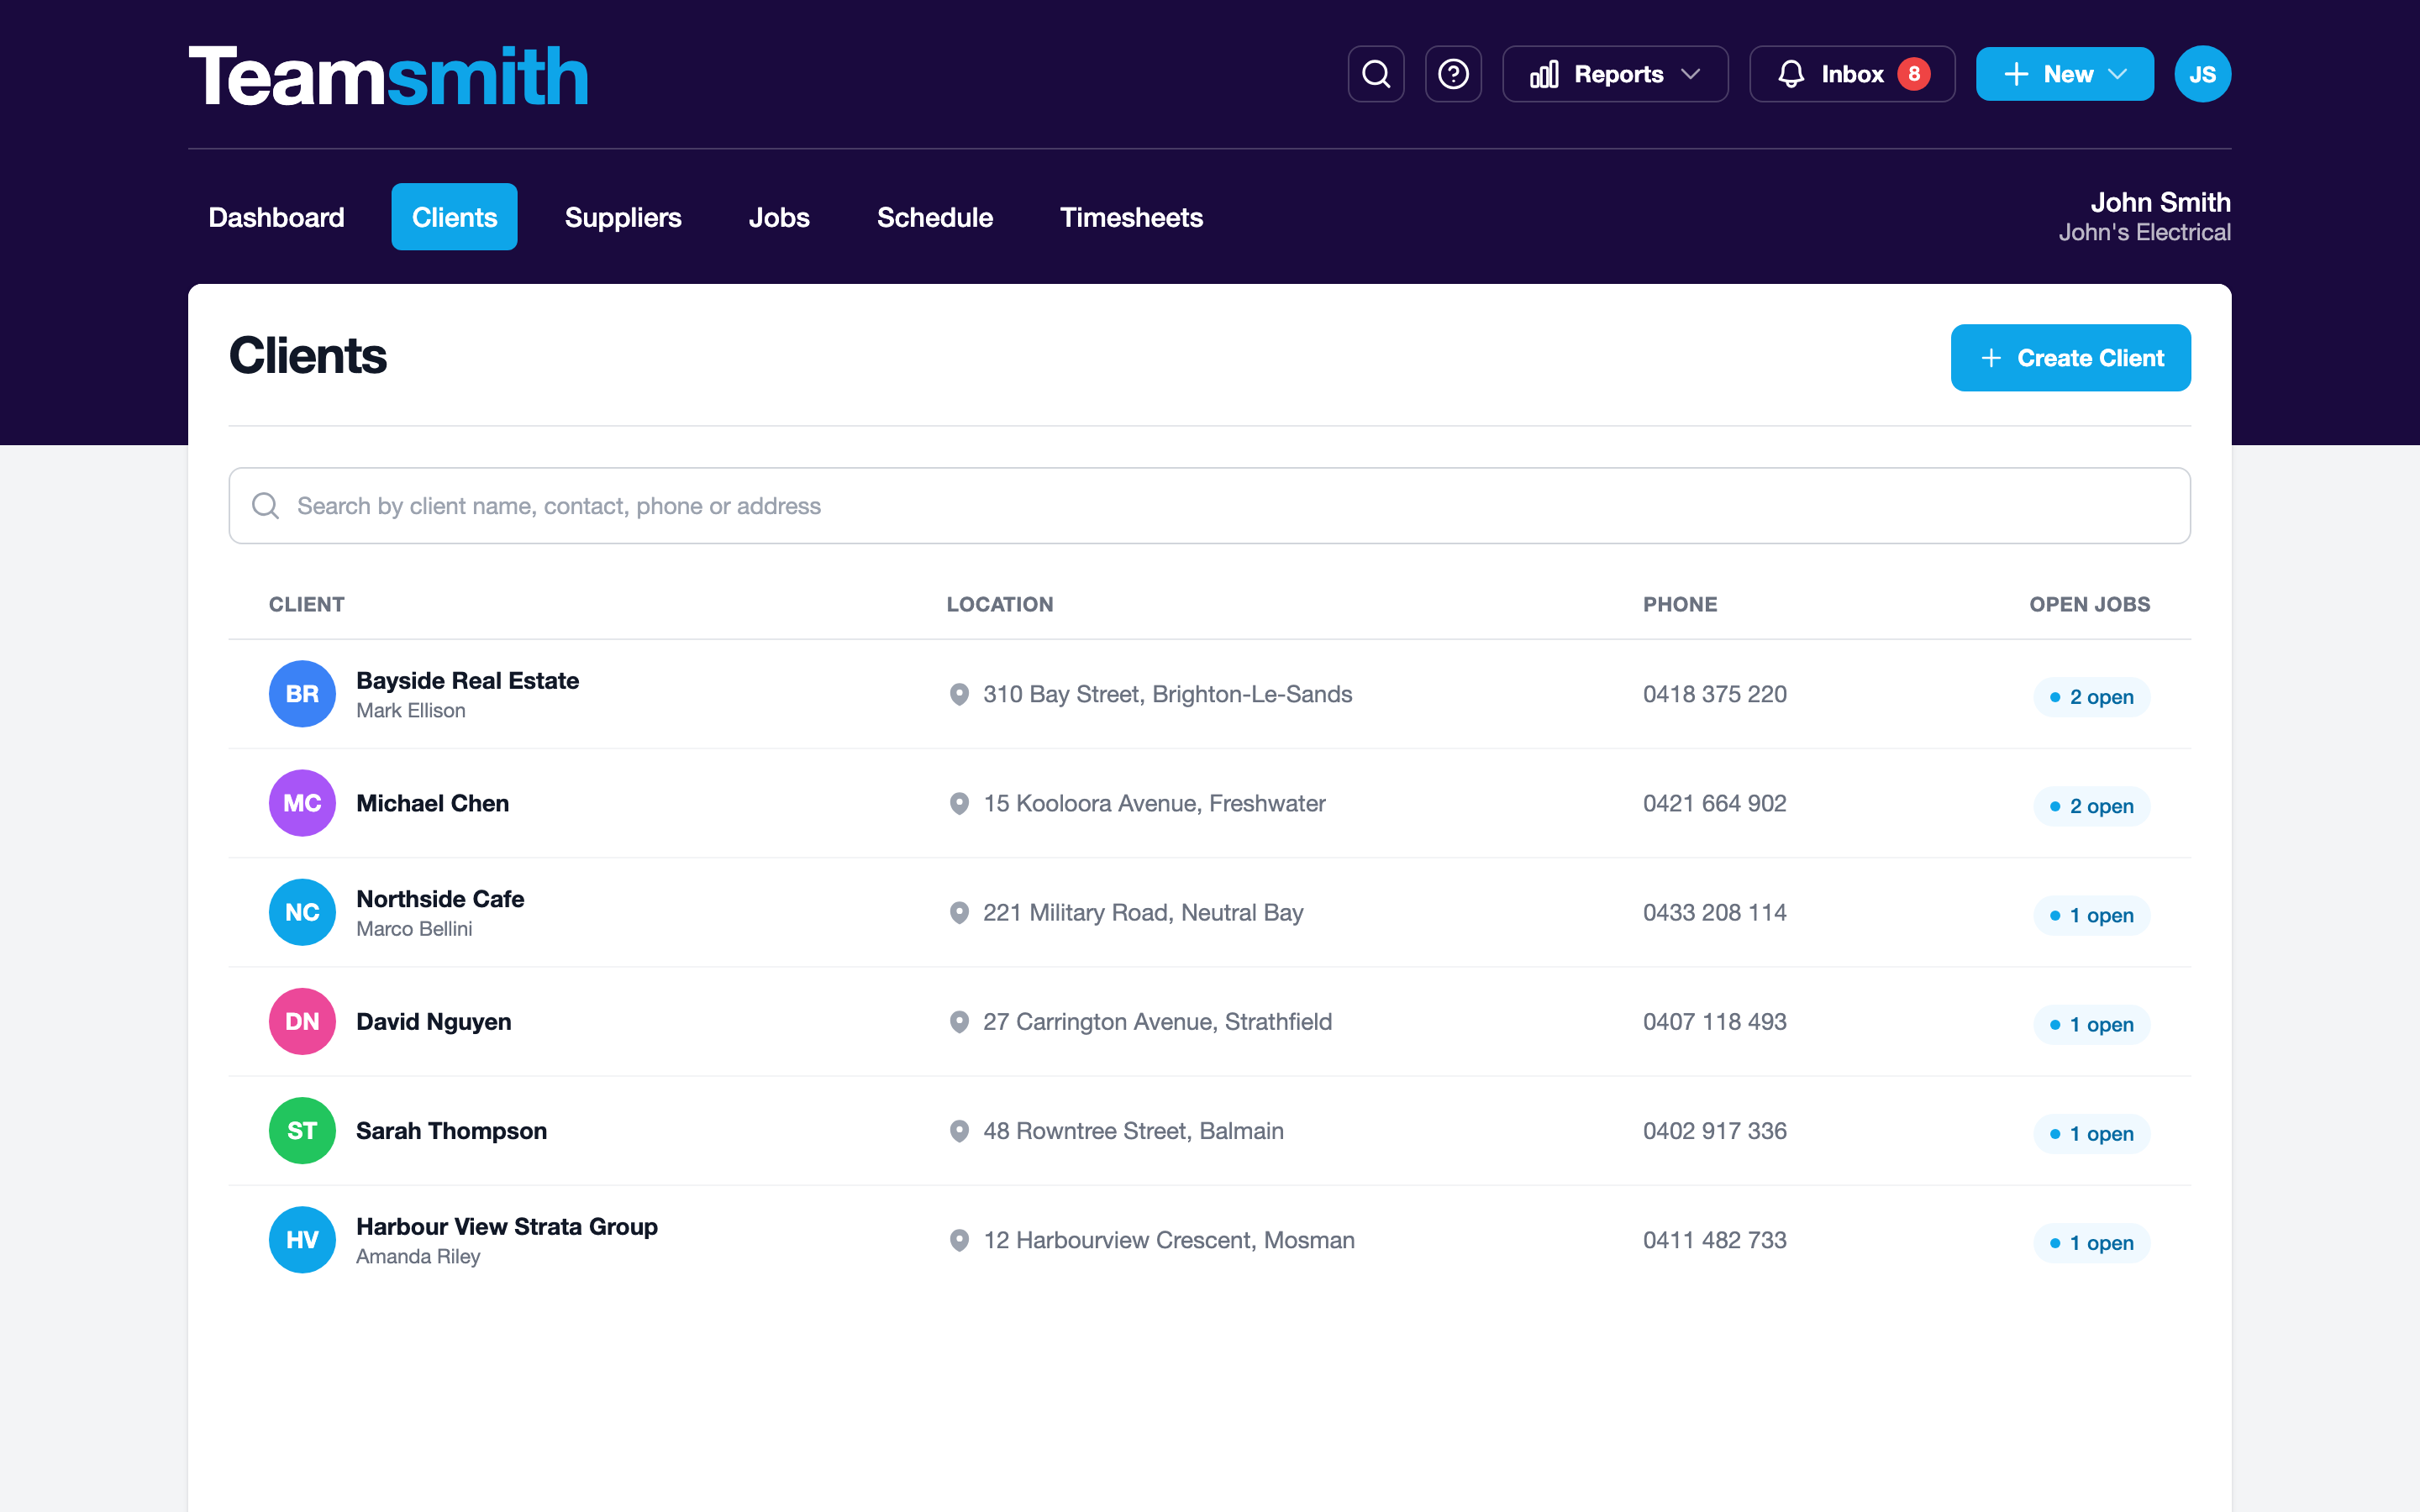
Clients live in the Clients tab on web and mobile. Every job, quote and invoice you create is linked to the client, building a full history over time. When they call back next year, you'll see exactly what you did, what you charged, and what you quoted.
Creating a client
Open the Clients tab, select Create Client, and add their name, phone, email and address.
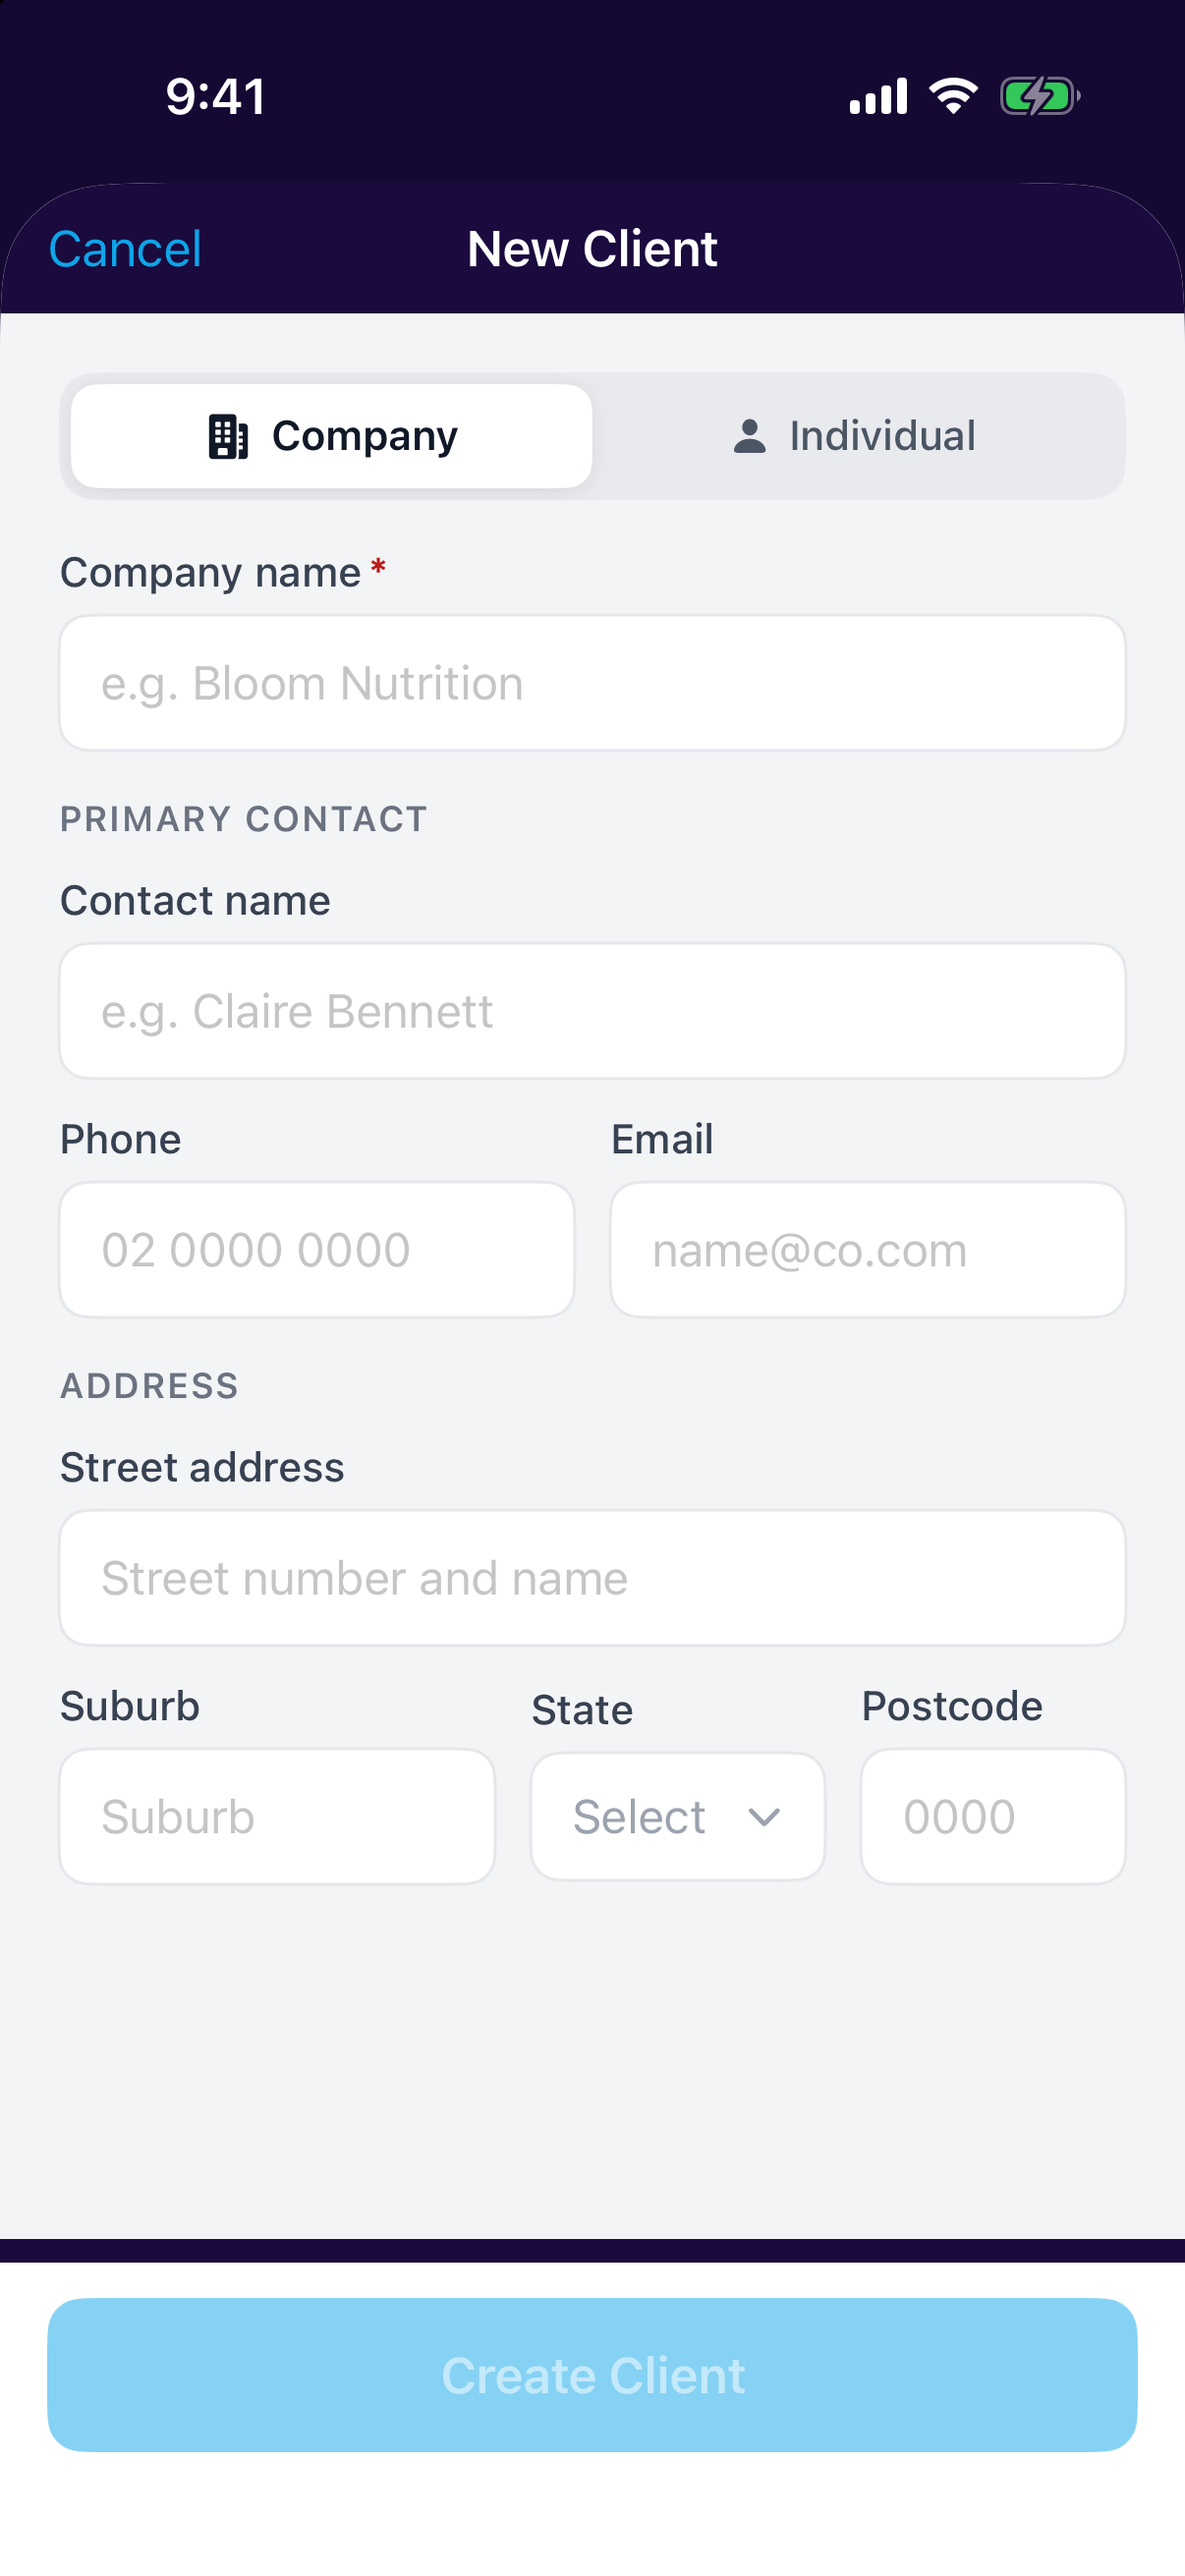
Open the Clients tab, tap Create Client, and add their name, phone, email and address. This takes under a minute; add a client while you're standing in their driveway and quote them before you leave.
Job addresses are converted to map coordinates automatically, so jobs show up on the schedule map view.
Not charging GST for a client
If your business is registered for GST but a particular client shouldn't be charged it (some NDIS-funded work or export services, for example), open the client's settings and turn on Don't charge GST. New quotes and invoices for that client are then created without GST, and their invoices are issued as "Invoice" rather than "Tax Invoice".
Open the client and choose Settings — the toggle sits under the logo and colour options.
Open the client and tap Edit — the toggle is in the client details section.
This toggle only appears while your business is registered for GST (set under Settings → Company Details); if it isn't, no GST is charged to anyone.