When you first sign in, a short onboarding checklist walks you through the basics. Here's what to set up first.
Company details
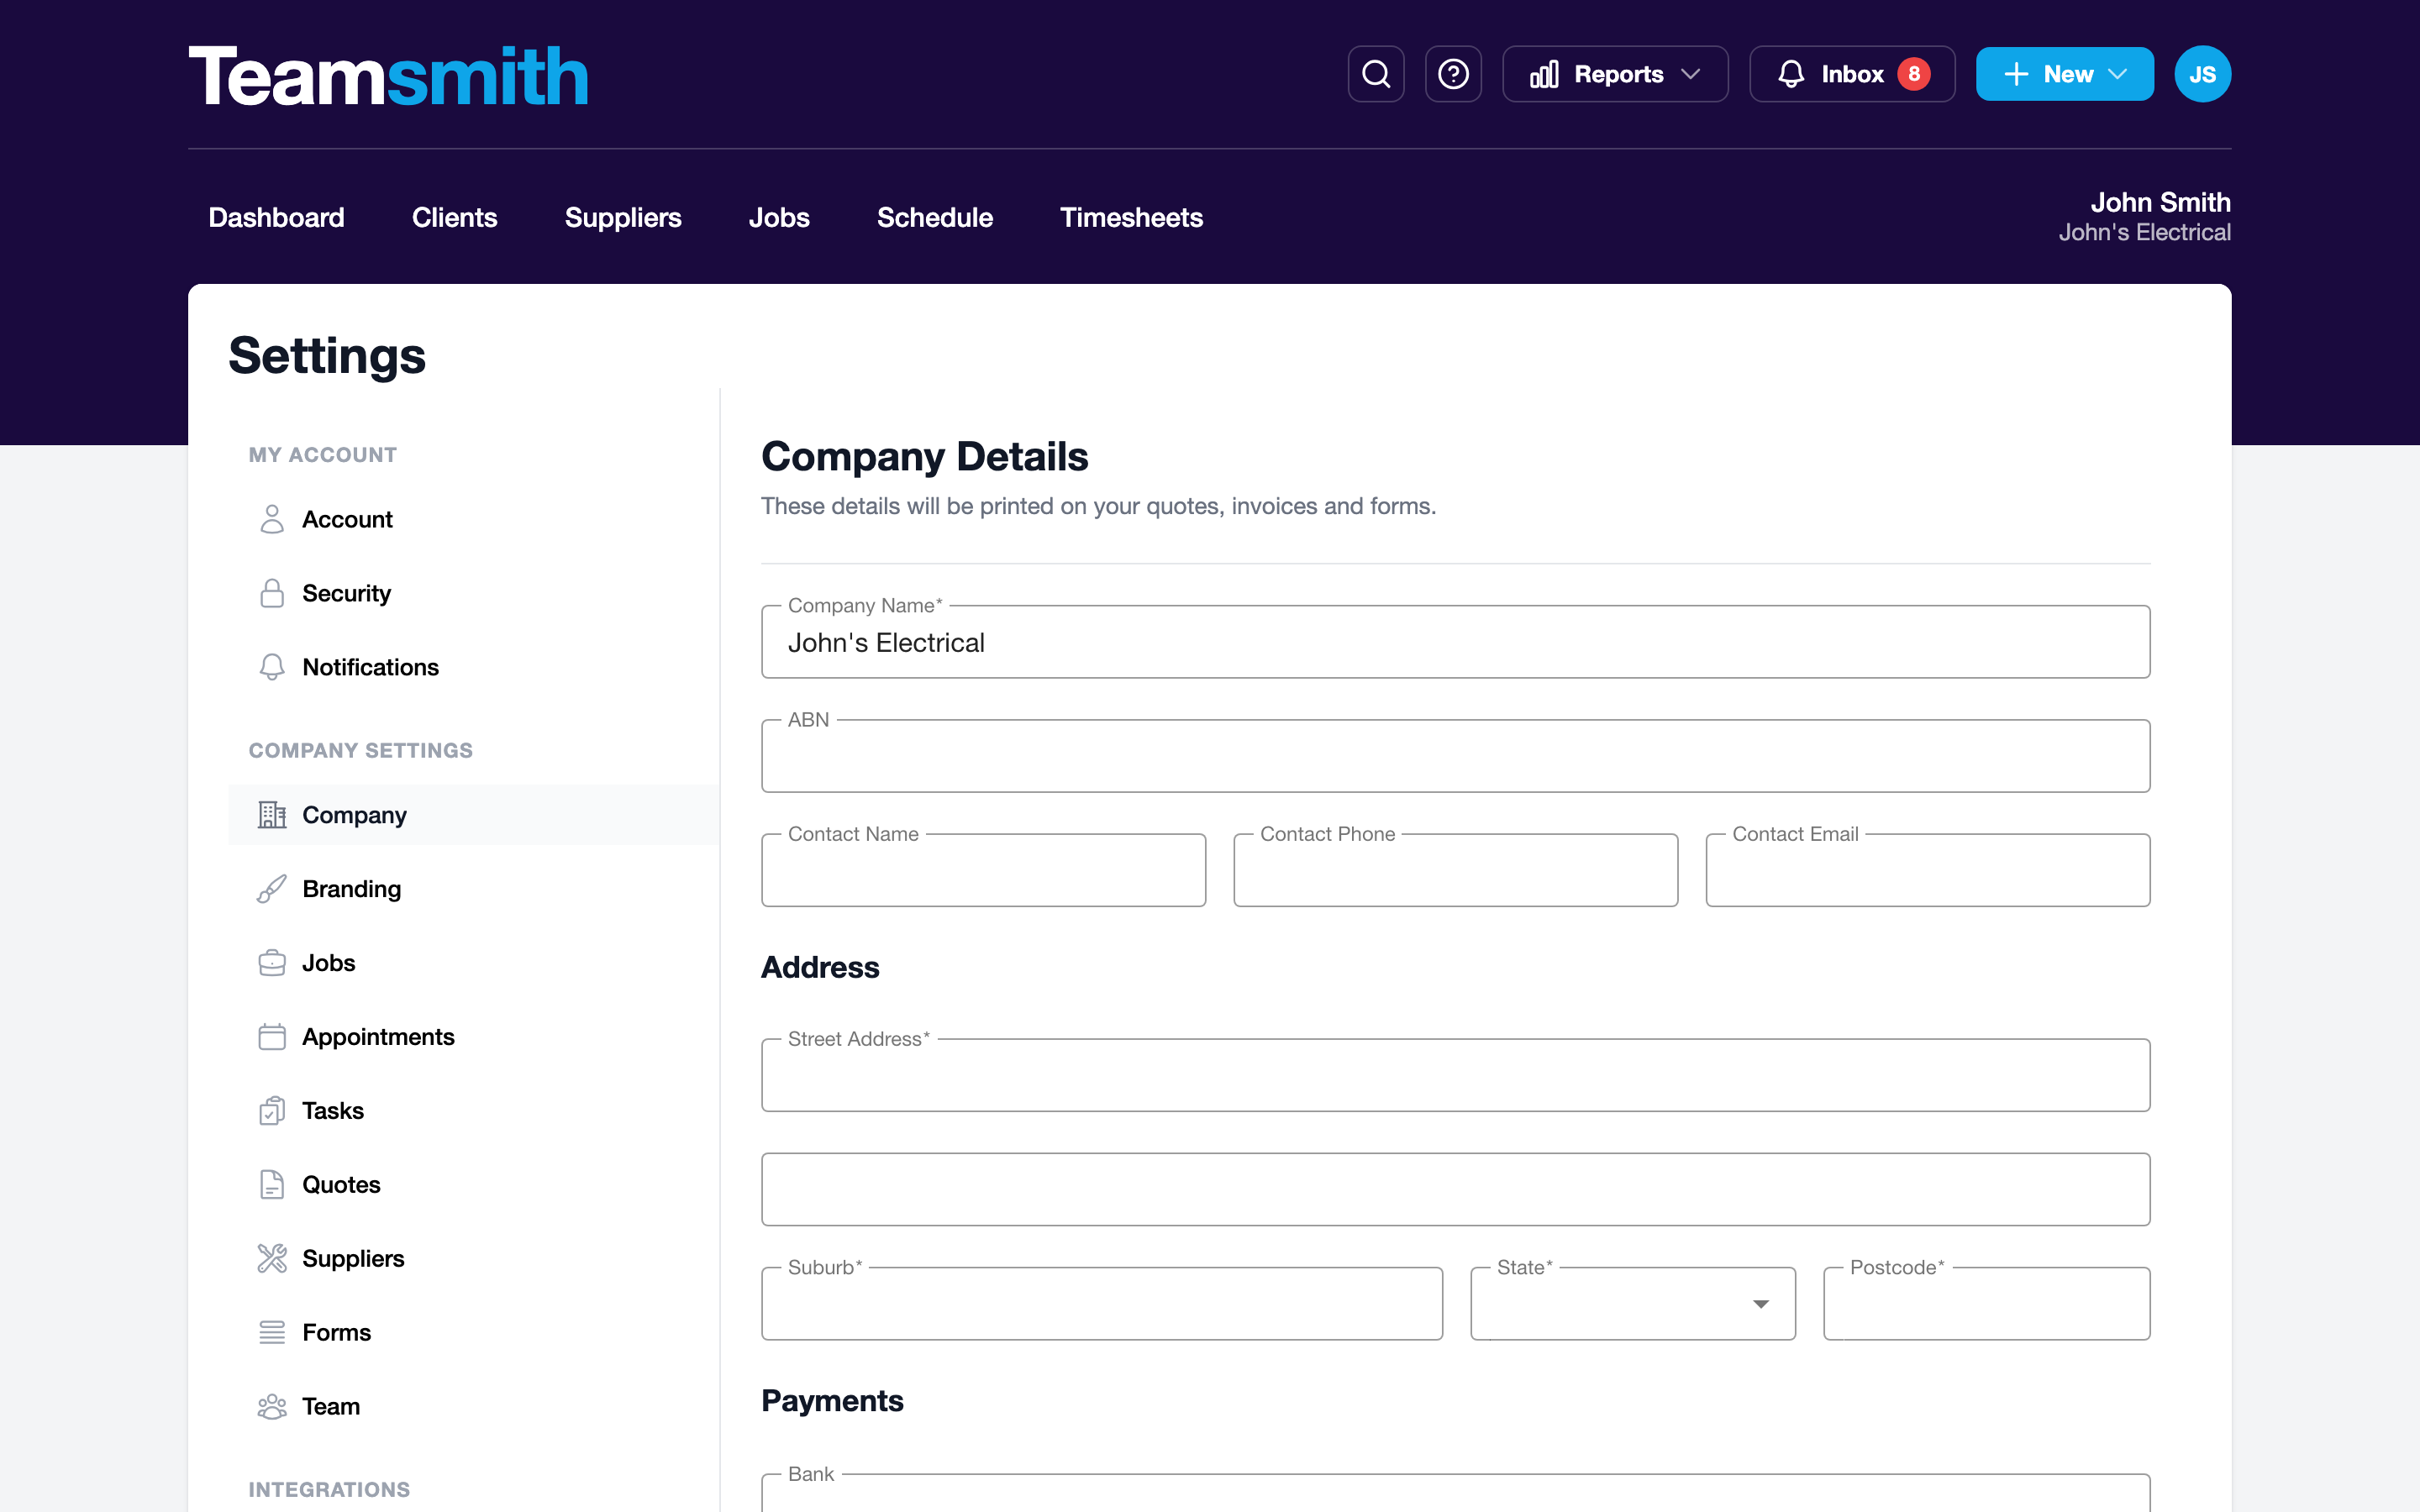
Go to Settings → Company Details and add your business name, ABN, website and contact details. These appear on every quote and invoice you send.
The Registered for GST toggle (under Payments, at the bottom of the page) tells Teamsmith whether to add GST to your prices. It's on by default; switch it off if your business isn't registered for GST — your quotes, invoices and work orders will then be created without GST, and invoices are issued as "Invoice" rather than "Tax Invoice".
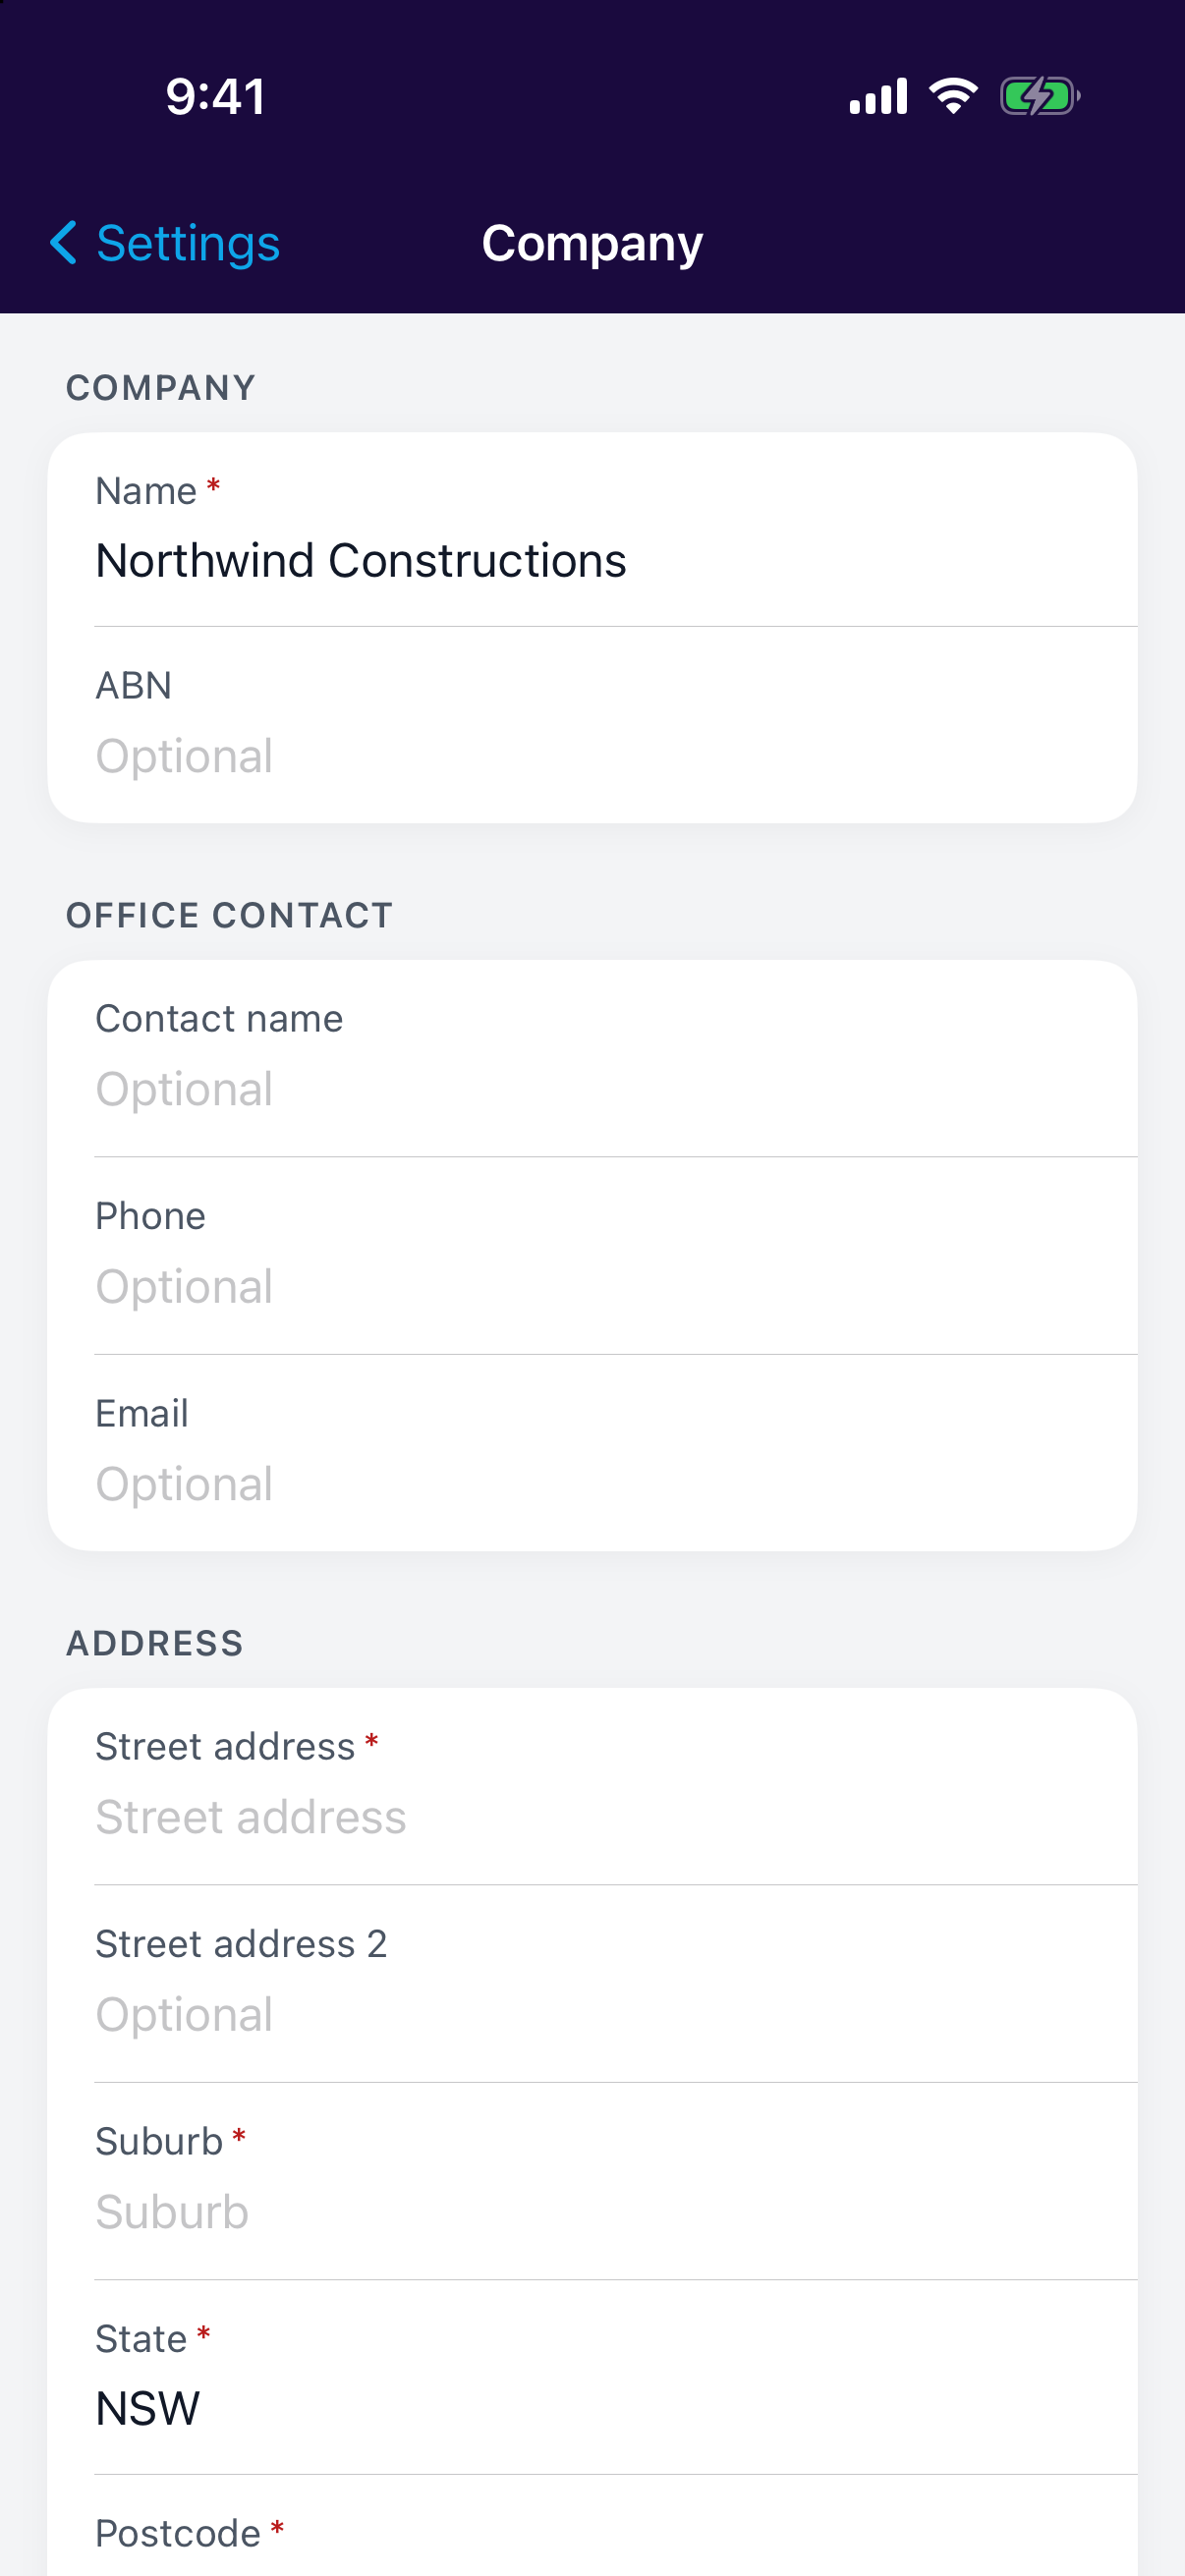
Tap your avatar, then Settings → Company Details, and add your business name, ABN, website and contact details. These appear on every quote and invoice you send.
The Registered for GST toggle (under Bank Details, at the bottom of the page) tells Teamsmith whether to add GST to your prices. It's on by default; switch it off if your business isn't registered for GST — your quotes, invoices and work orders will then be created without GST, and invoices are issued as "Invoice" rather than "Tax Invoice".
Branding
Under Settings → Branding, upload your logo and pick your colours. The preview shows exactly how your quotes will look to clients. See Branding for the full walkthrough.
Tap your avatar, then Settings → Branding, to upload your logo and pick your colours. A live preview updates as you edit. See Branding for the full walkthrough.
Do this before your first quote
Clients see your branding on every document; thirty seconds here makes every quote you ever send look more professional.
Your first client and job
Add a client from the Clients tab, then create a job for them. Everything else (quotes, appointments, timesheets, forms) hangs off the job.